Interface is a very important part of all applications, video games, software, etc. We find an interface on practically all sites and in all places on the Internet. This is why creating an interface in our projects is so important. That’s why I decided to create this tutorial that shows you how to do it Create an interface in Unreal Engine 5. If you are interested in learning more about this, I invite you to continue reading this article as well as follow the steps I will be referring to.
Create an interface on our screen
In order to create this tutorial, I will be creating a simple interface in which I will display an image and text. I’ll show you how you can add this image and text as well as tweak it a bit to make it just the way we want it to be. I will also show you how we can implement this interface so that it appears on our screen. To show you how to do this I’ve created a test project but you can do it in your project you’re working on today to create one from 0 so you can go through the steps I’m going to refer to
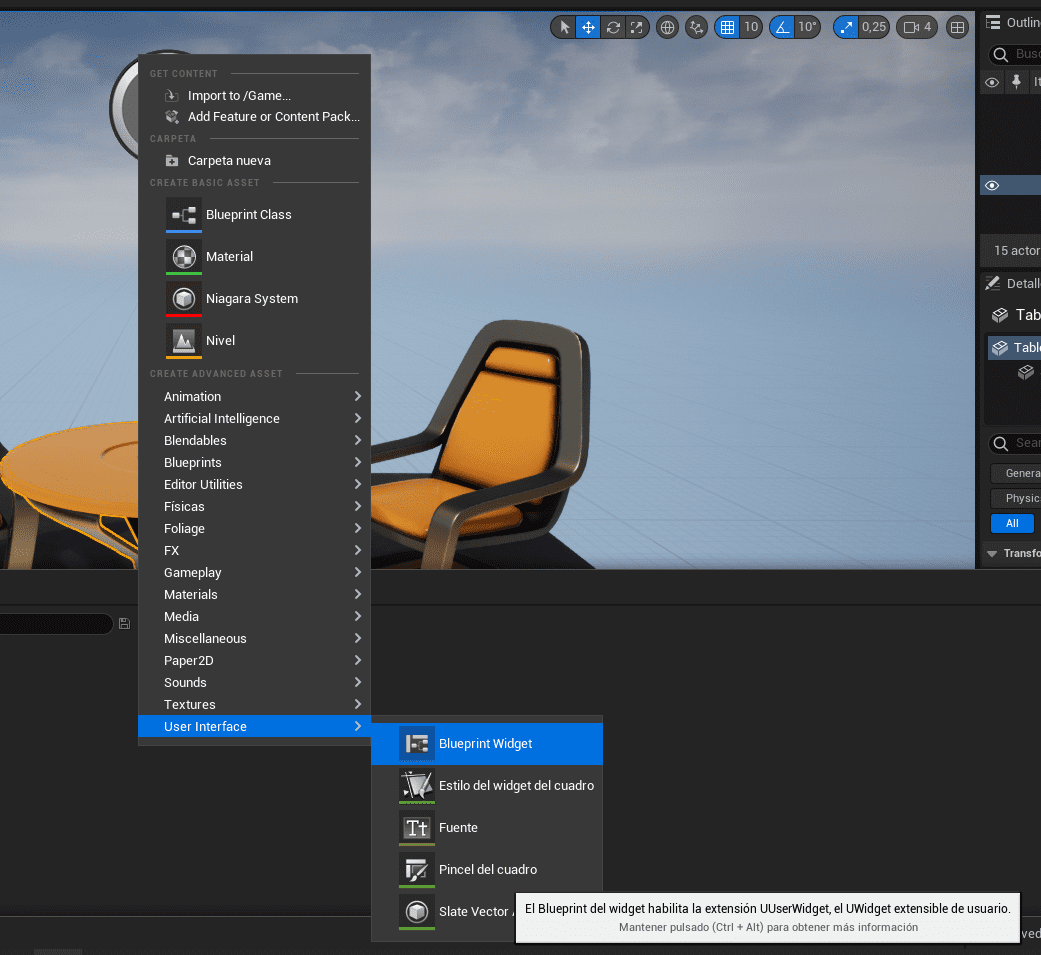
First we have to open a file Content To be able to create what will lead to our interface. To do this, we will right-click on an empty space that displays a menu and choose user interface. Then in the next stage we will choose the option called striped widget. By doing this, a window will be displayed in which we will have to select the only option that allows us. Next, we have to double-click on what we just created to open it.
Facade building
Now that we have the basis on which we can create the interface, we will do it in a few steps.
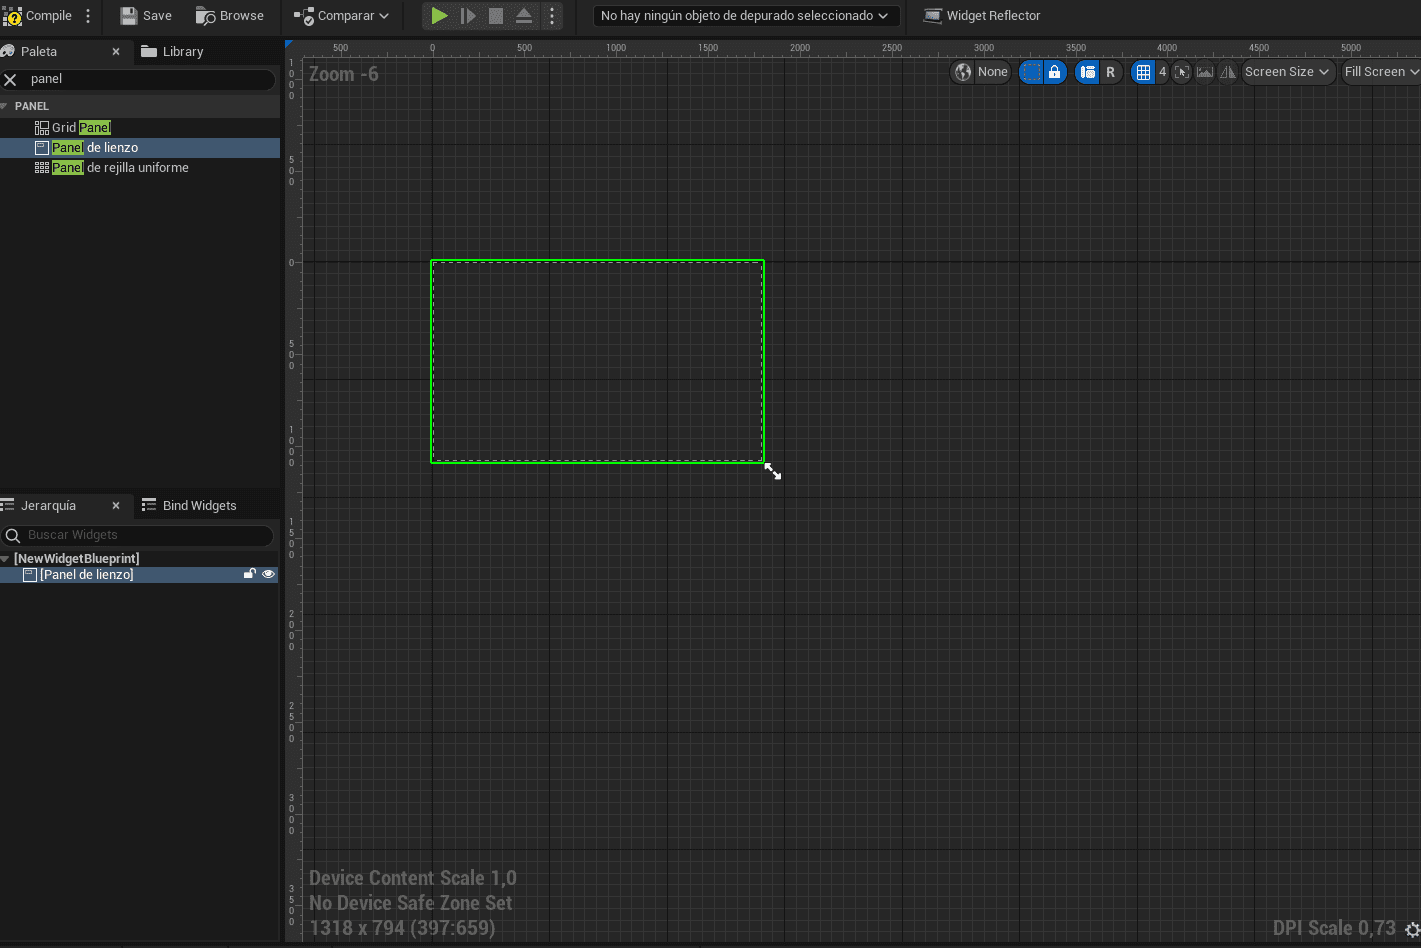
If we see in the left part of the program, we find an option called painting. Within this option we find various options such as progress bar, border, button, checkbox, and image, among others that we can add to create our interface. But in this tutorial, we will only focus on picture and text. For me, we’ll select an image and drag it to the free space in our window. By doing this we will see that we cannot move the image or text but we can fix it by going to the palette browser and typing cloth part. What this will do is represent our screen.
Create a text
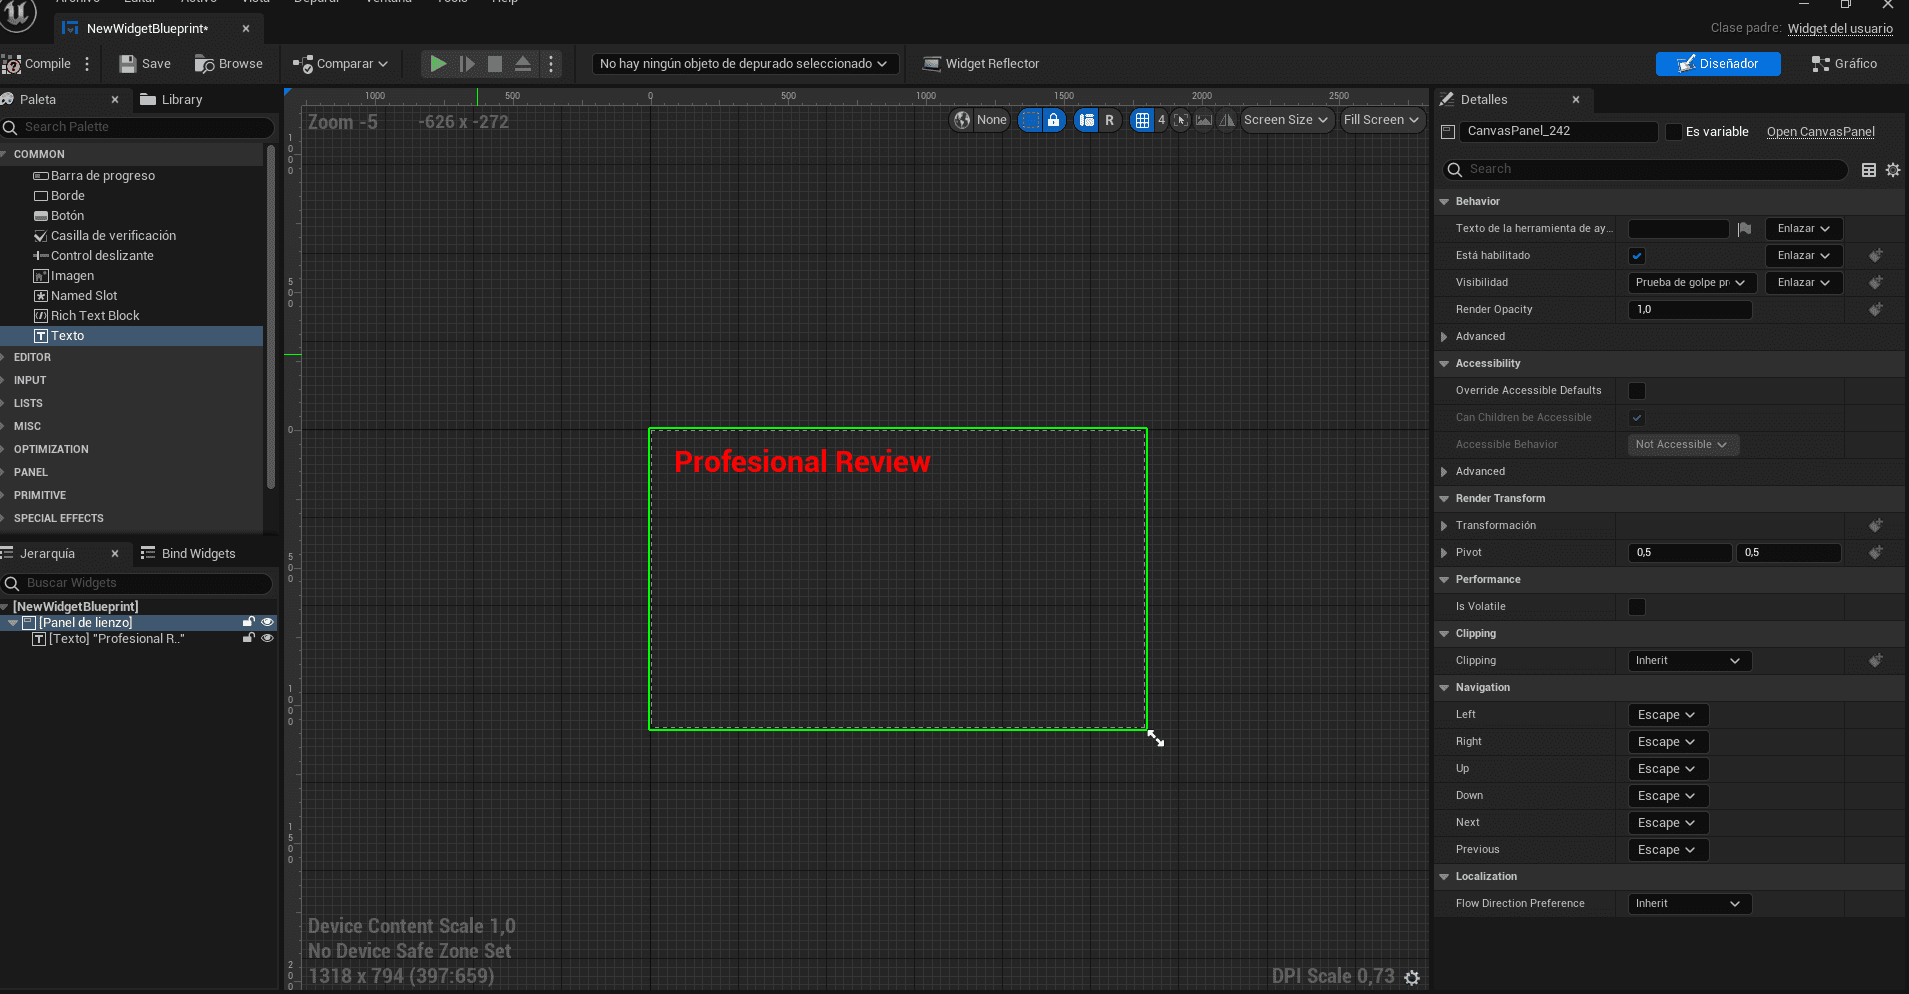
We will now be able to drag the text into our canvas. to me Edit text We’ll go to the right side and where the text says we can change what we want it to say. We can also change a file color and opacity From our text inside the settings we find it on the right side when we select the text.
Create a picture
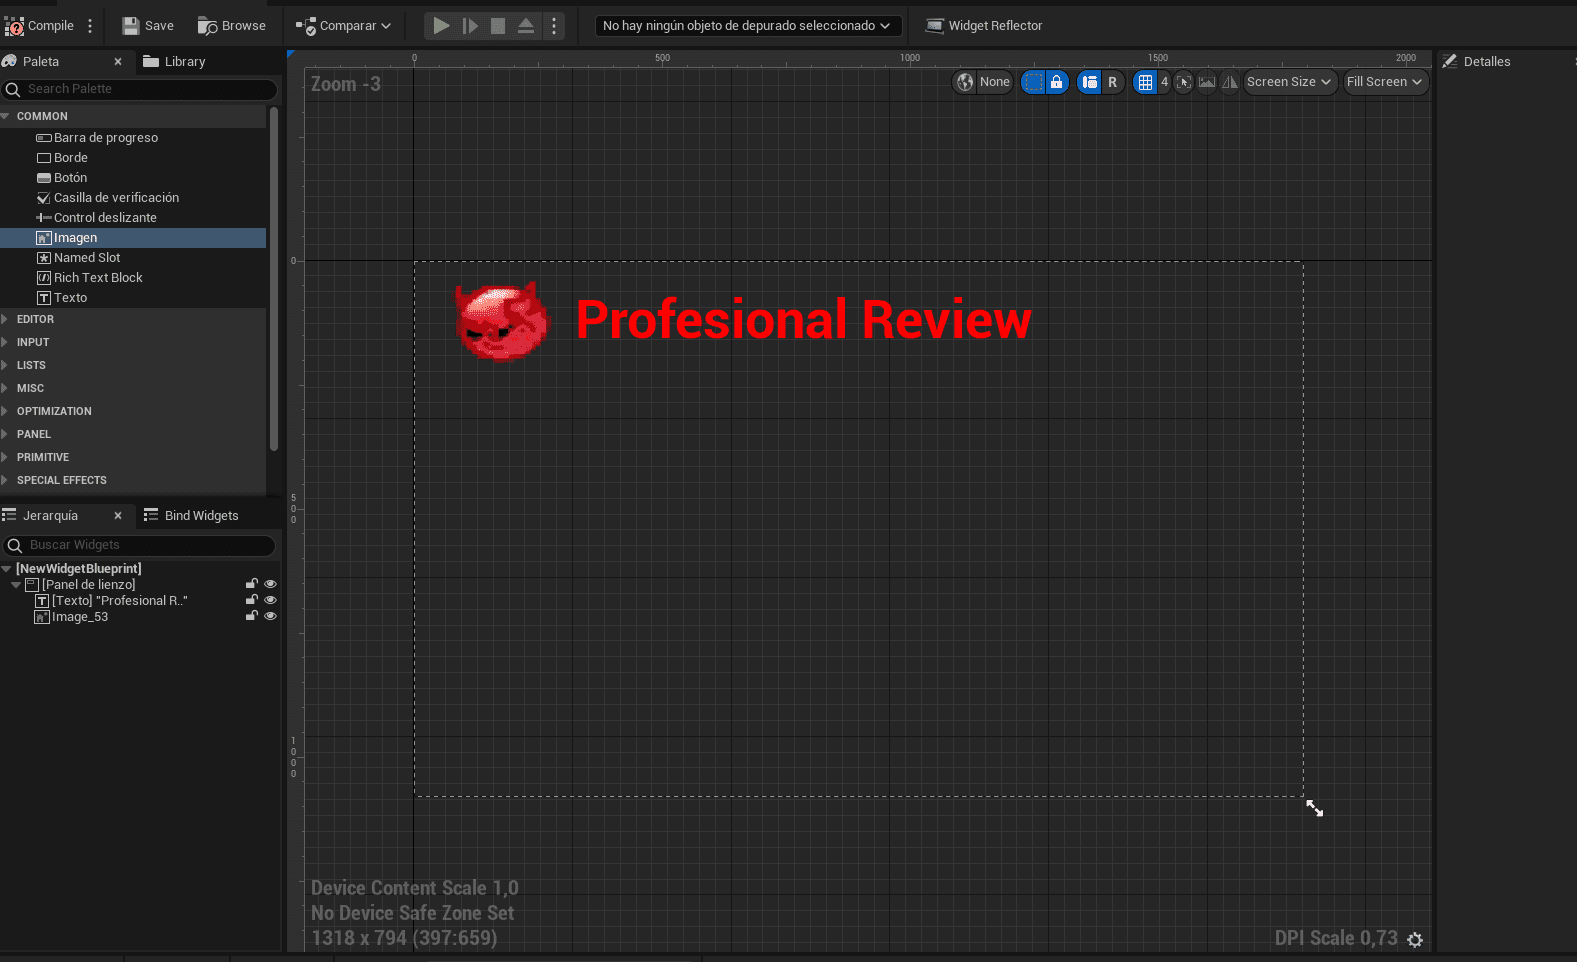
In order to create an image on our canvas we will have to choose within a file painting Picture option and drag it Inside our cute. To change the image, we will have to go to the right side in the details panel. Within this we will look for the brush option and if we display it, we will not display the image function. If we click on this function, we can choose which images we have inside the graphic engine. By default we already have images but we can add them if we download or create our own. The perfect shape is beng Because the graphics engine works well with this format. You can enlarge or reduce the image directly from the image. We can also change the block’s color and position using the details panel.
How to add the interface on the screen
When we save what we just did for the interface in Unreal Engine 5 and press play, we can see that the interface that was created does not appear on the screen. What we need to do is go to the top of the interface and select Window. Inside the window we will select the option world settings. What this will do is that the right part where we find the details window will bring up a new window called world settings.
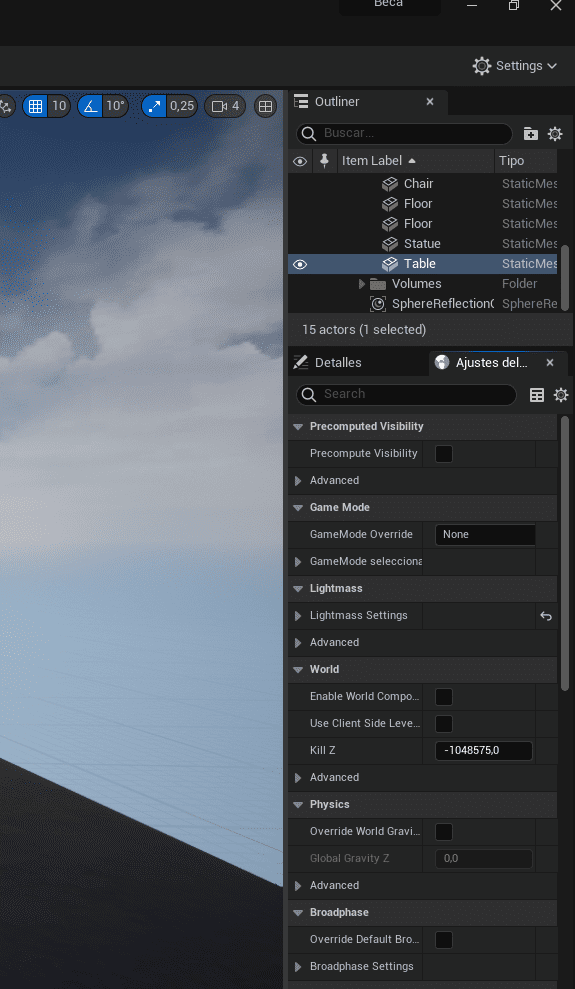
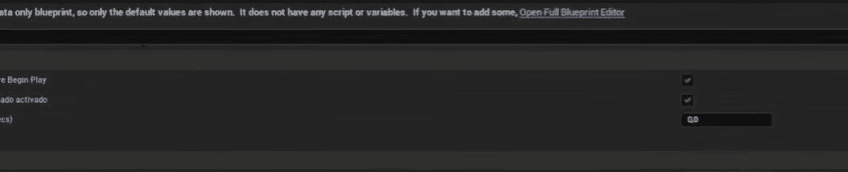
Inside the panel we just created, we will see that there is one panel called game type. The next step is that on the right side we will find the magnifying glass icon on which we will click to find the next file. If this is the first time you open the file you have referenced. A screen will appear for us to choose Open a full schema editor.
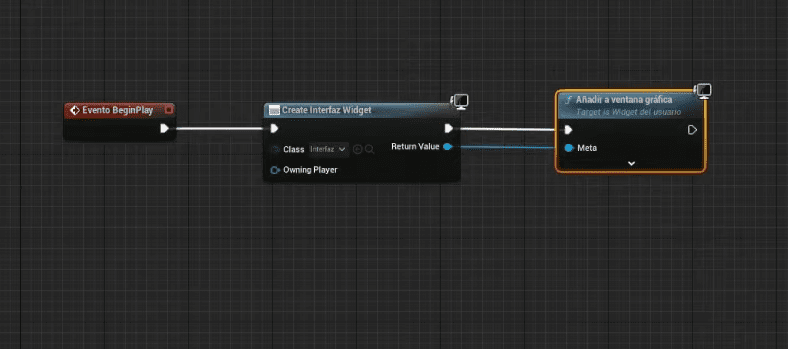
Once in, we will create a node by right-clicking on an empty space in the window that just appeared. This knot is called start event. This node is activated when the game starts. We have to create another node called Create widget. Inside the new node where it says class , we open the dropdown and we will choose user interface. Now we will save and press play again, we will see that the interface still does not appear on our screen.
So we will need a new additional node to tell Unreal Engine that we want to display the interface on screen. This knot is called Add to viewport. We also have to unite Return value on meta. Now when we hit save and play the game, we can read that we already have the interface we created earlier on our screen.
“We recommend How does Unity Asset Store work“
As you can see, creating an interface in Unreal Engine 5 is very simple, as well as allowing us to create different types of objects in our interface. Remember that when you finish creating the interface, it is important to connect the nodes so that they appear on the screen.

“Beer enthusiast. Subtly charming alcohol junkie. Wannabe internet buff. Typical pop culture lover.”